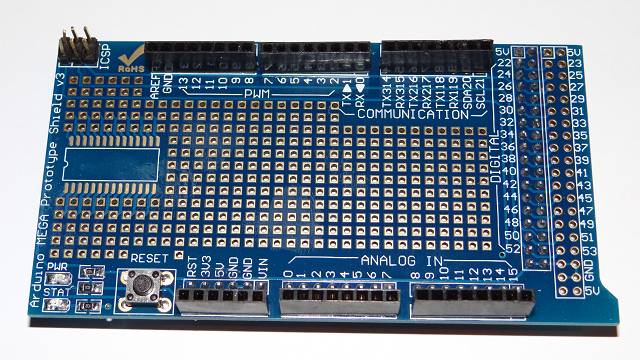
This is a protoshield(short for prototype shield) for an Arduino Mega. They are sold for around 3 Euro and in my opinion it`s worth it compared to the afford it takes to make a shield like this by myself. All the pins, the two leds and the reset button are brought to the top and labelled correctly. In the middle is a lot of room to solder electronic components onto it. In my case I want to solder a 10 degree of freedom IMU and some headers onto it and use it as a flight controller shield for my quadcopter.
link to the protoshield: Ebay – Arduino Mega Protoshield
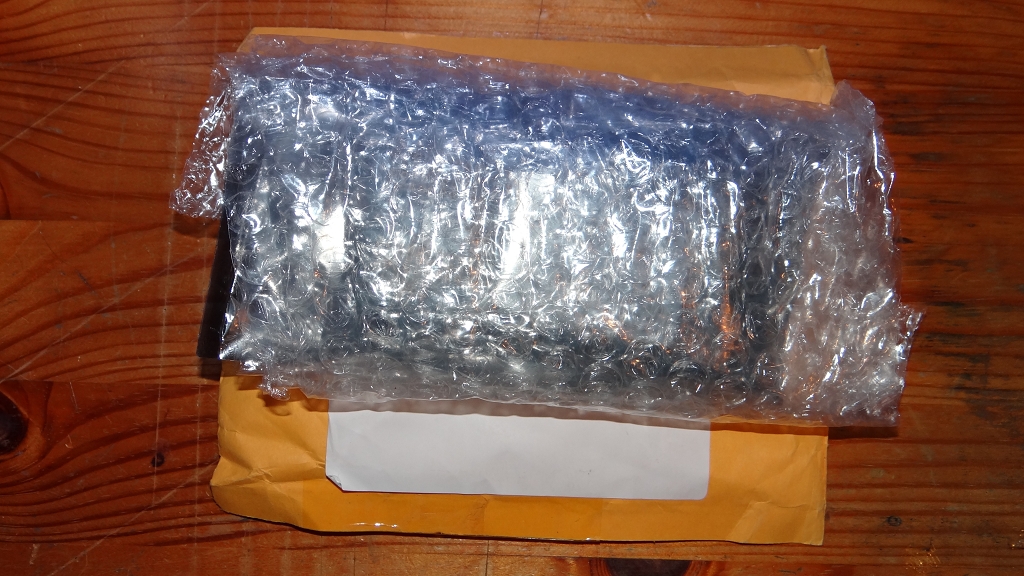
Here are two pictures of the packaging:
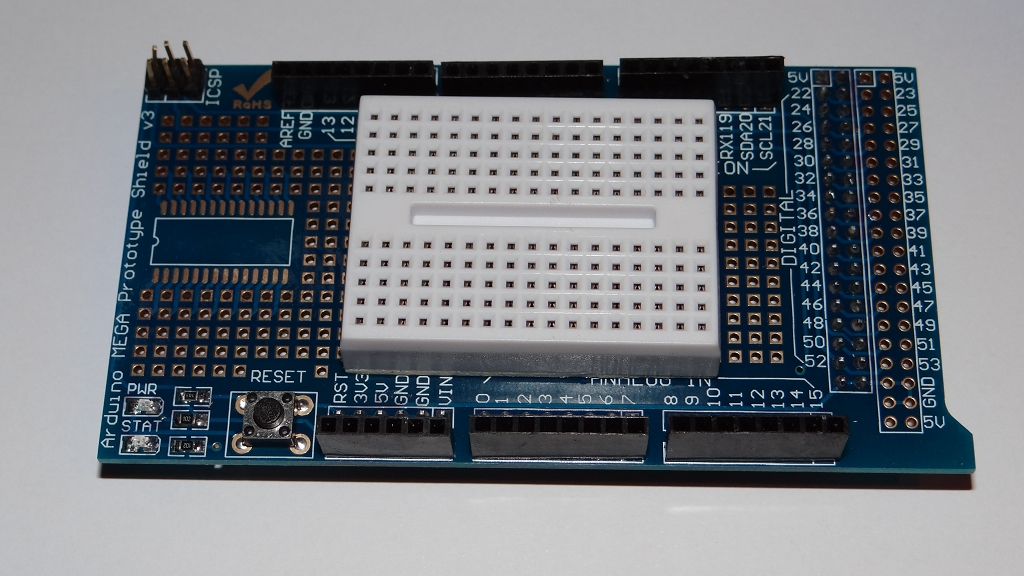
The protoshield comes with a small breadboard:
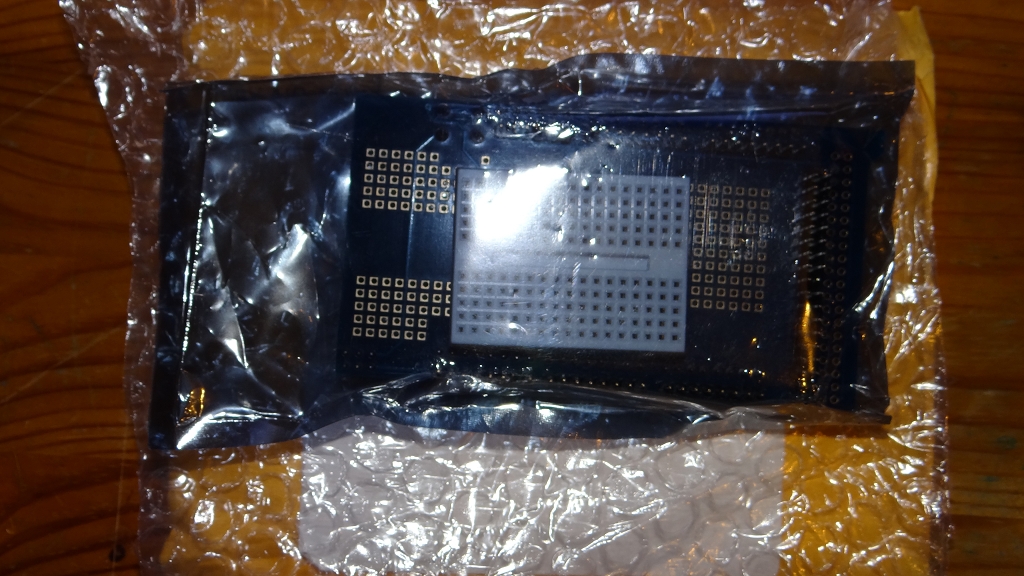
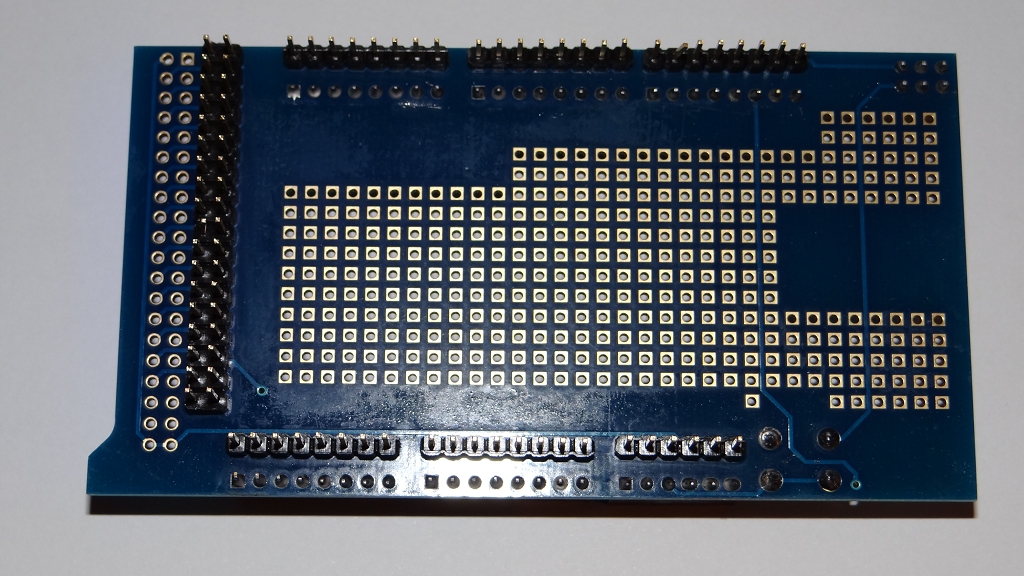
Here is the backside of the protoshield. Three of the header pins were a bit bend, otherwise it is in good quality.

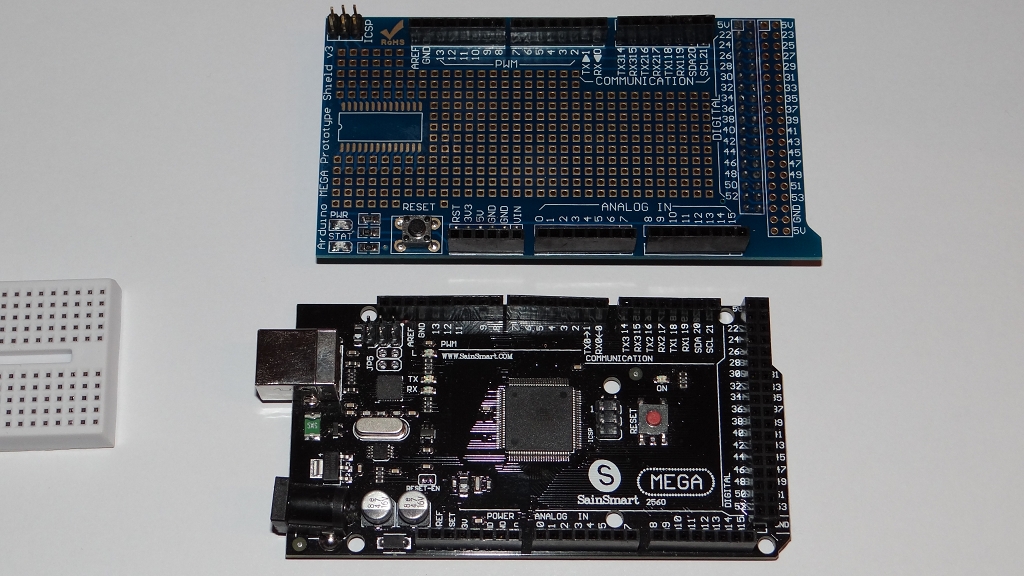
The shield is a bit bigger than the Arduino Mega:
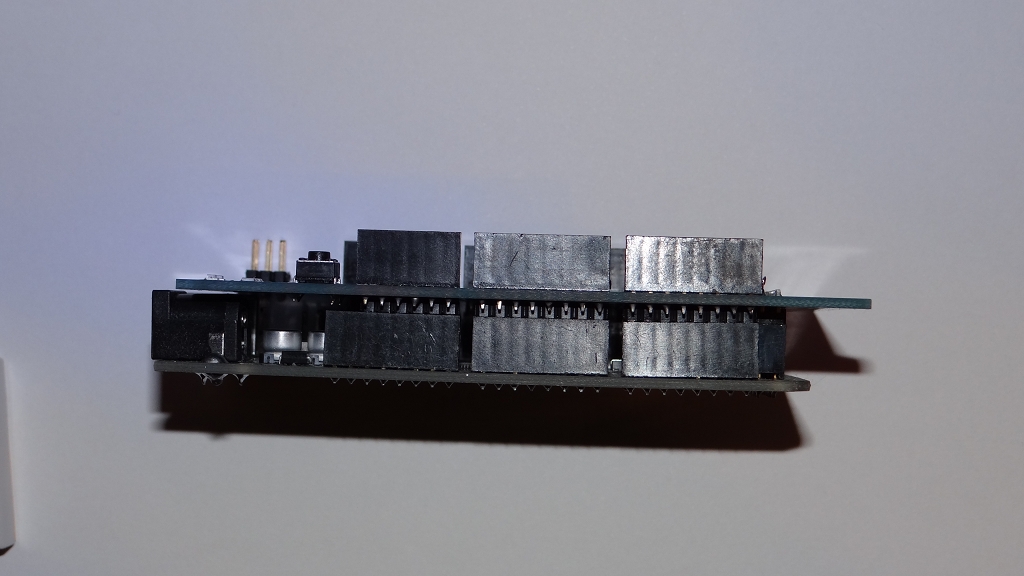
Side-view when stuck together:
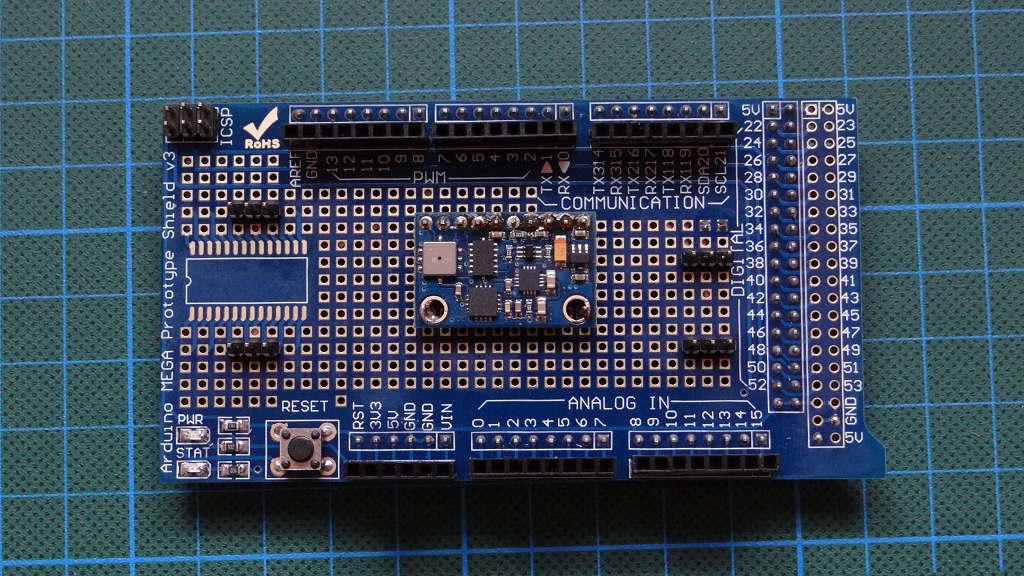
This is how it looks like with a 10 dof IMU (the GY-80) soldered to it in the middle and four 3-pin headers for the connections with the ESC servo cables.
All the wiring is on the backside:
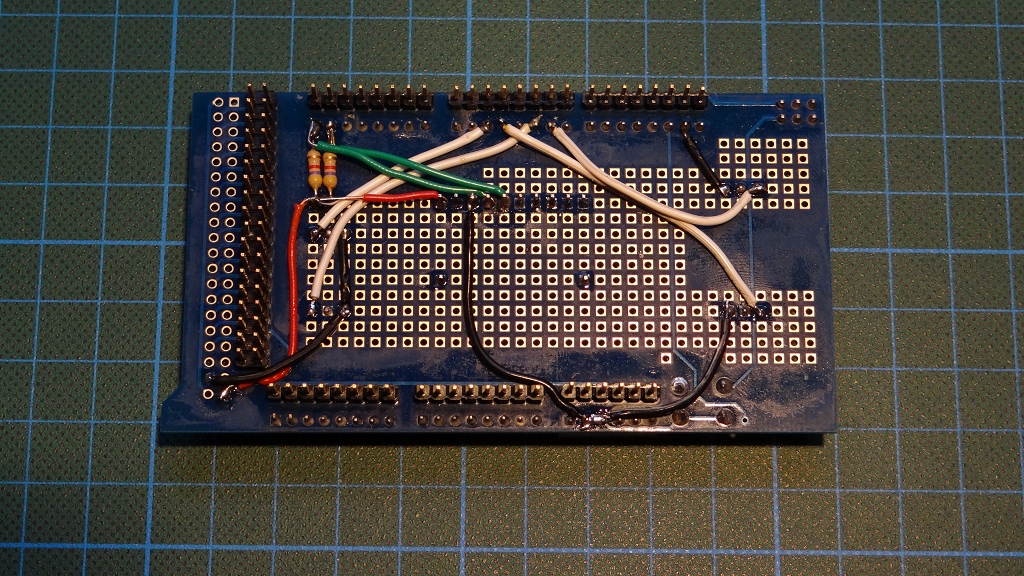
I will explain the wiring in my next video about my quadcopter. It was easy to do, of course it took the usual time to cut the wires to length and solder them, but I didn`t need to make the shield platform. I can recommend the prototype shield, it works without problems and it`s worth the money, even though I wished there was an even cheaper alternative. But this type of “empty” shield is the cheapest that I could find. What I would recommend is to not stick the shield completely on the Arduino Mega till you are finished with it, because the big amount of pins are making it relatively hard to get it off again.